Your Account
The Settings area lets you manage your own profile, credentials, interface appearance, and security preferences. It is separate from the admin screens that manage other users — changes here only affect your own account.
To reach Settings, click your name or avatar in the bottom-left corner of the sidebar, then choose Settings from the dropdown menu.
Settings layout
The Settings area opens with the heading Settings and the description "Manage your profile and account settings." A narrow navigation list on the left side of the page lets you switch between four sections:
- Profile
- Password
- Two-Factor Auth
- Appearance
Click any item to navigate to that section. The active item is highlighted with a subtle background.
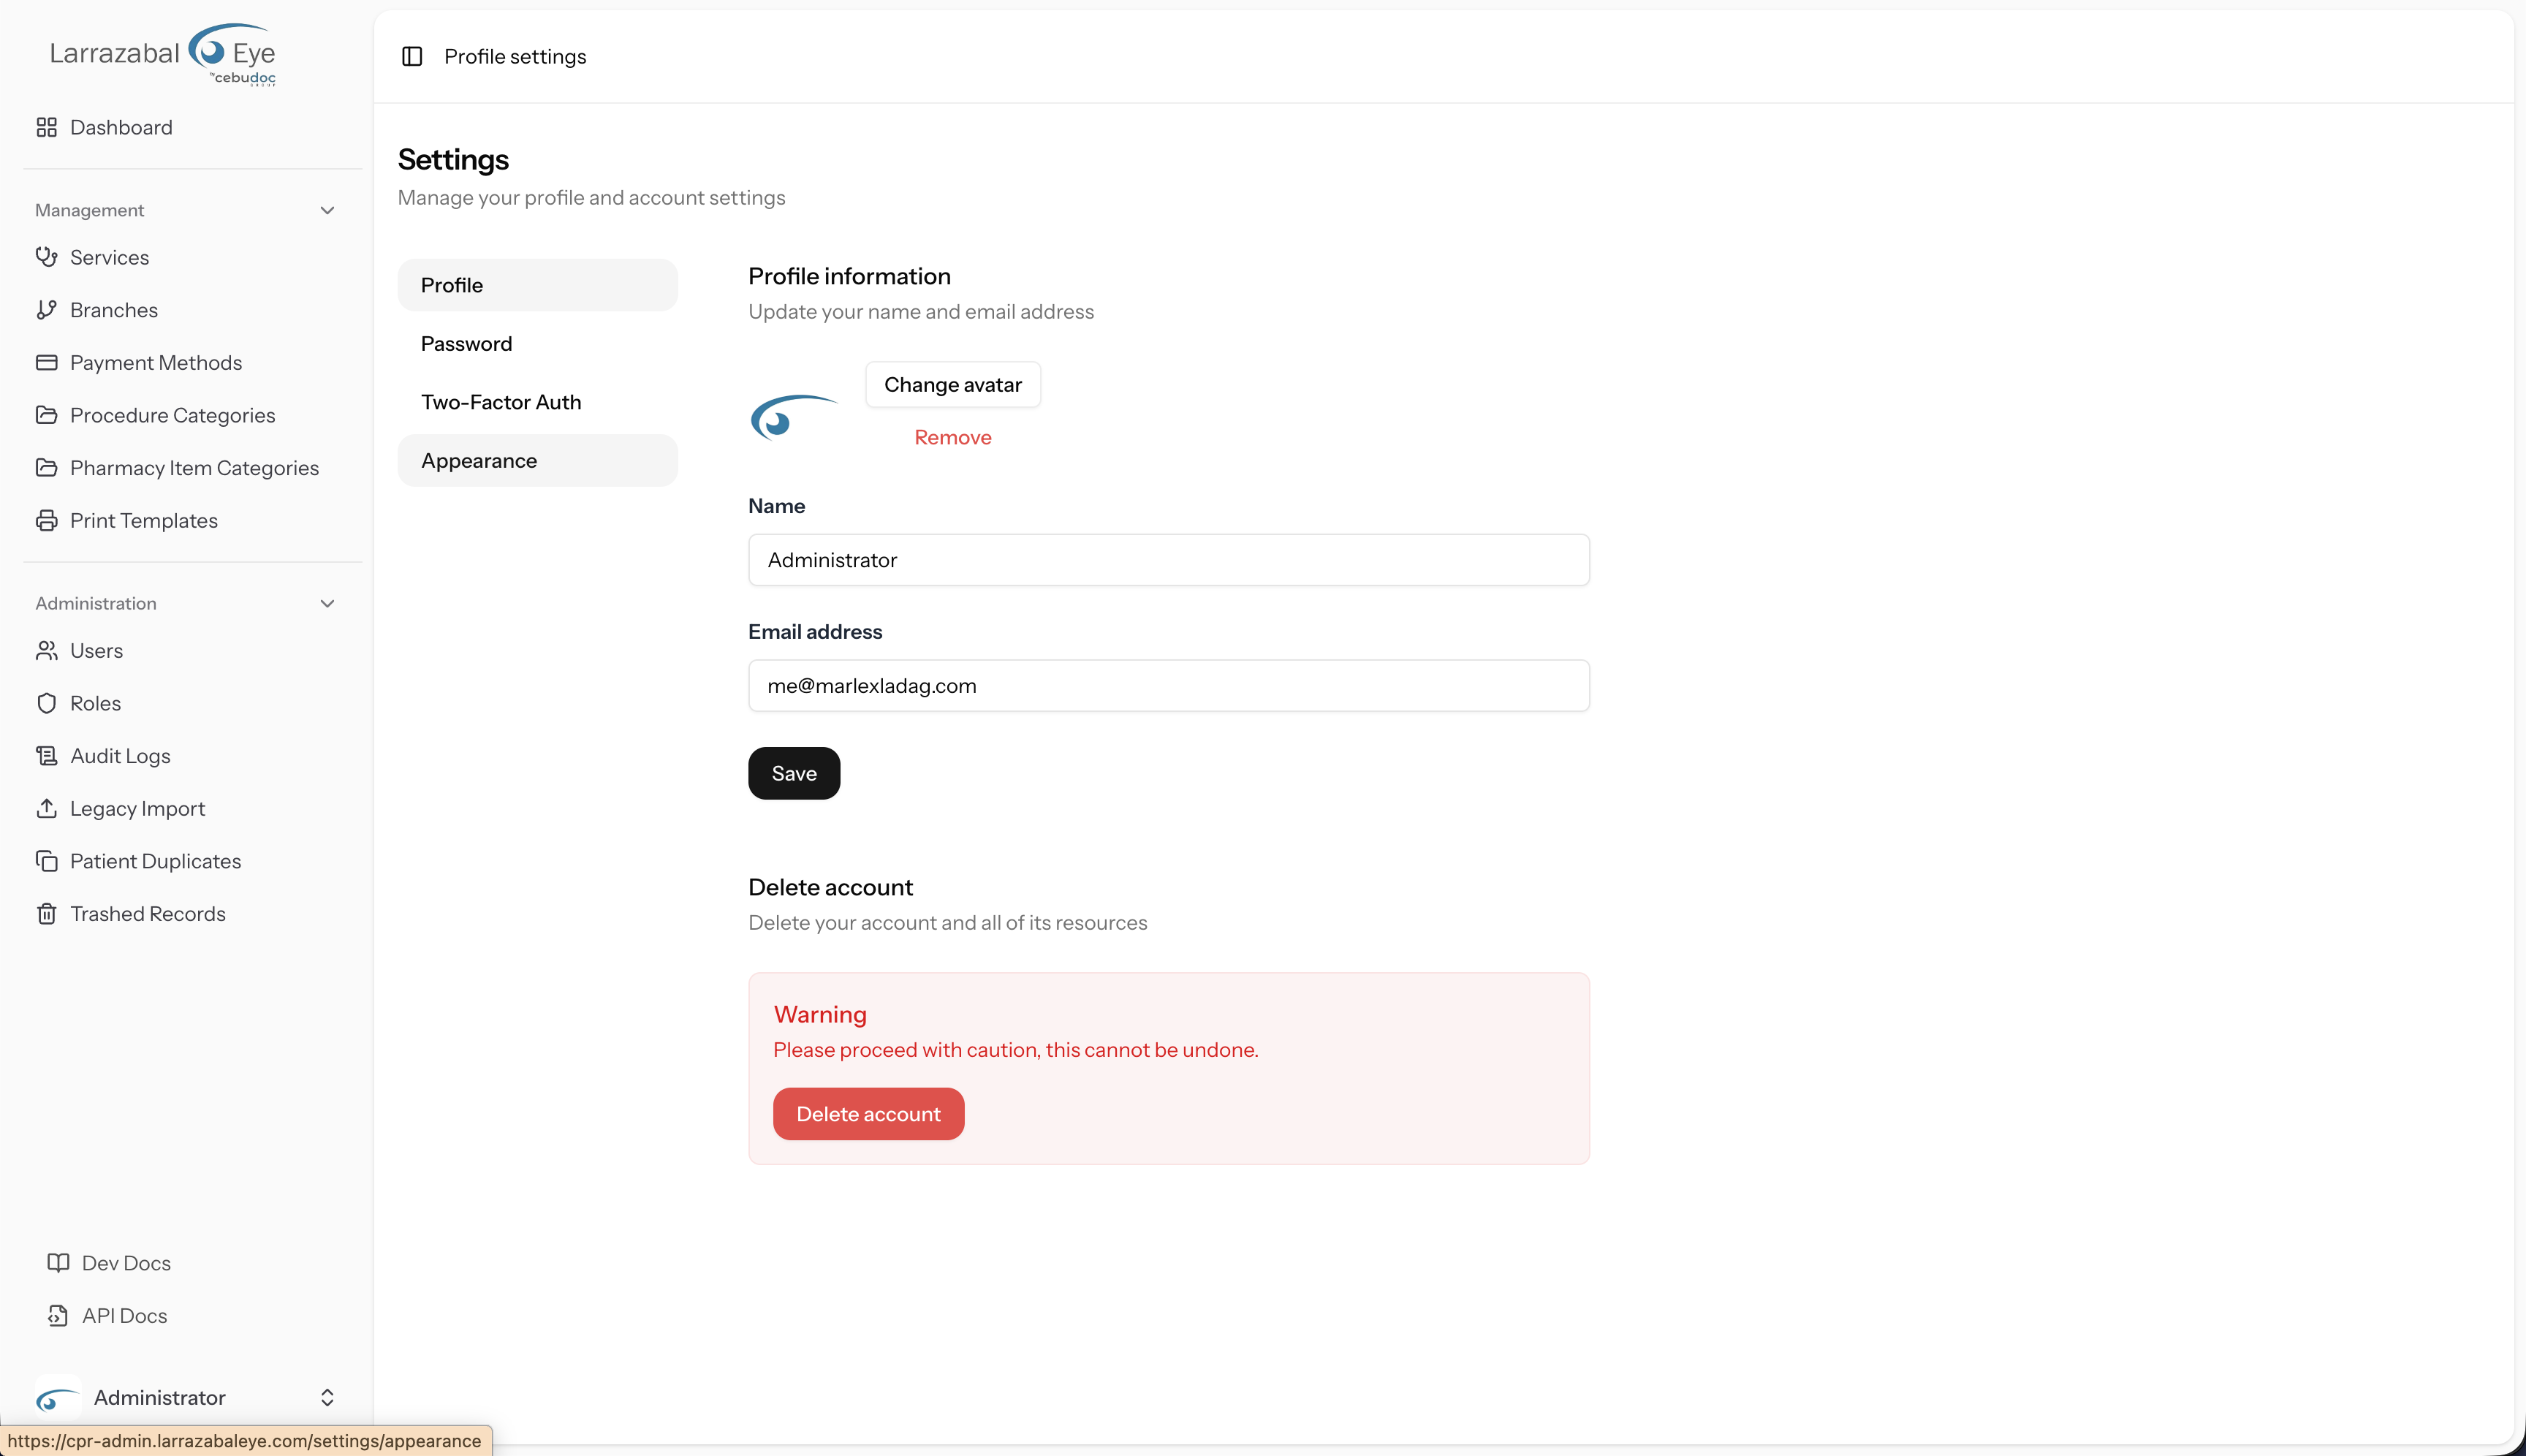
Profile
The Profile section (heading "Profile information", description "Update your name and email address") lets you change your display name and email address.
Avatar
At the top of the section is your avatar. If you have uploaded a photo it is shown in a circle; otherwise your initials appear as a placeholder.
- Click the avatar circle or the Change avatar button to open a file picker. You can upload a JPEG, PNG, or WebP image.
- While the upload is in progress the button label changes to Uploading....
- If you already have an avatar, a Remove button appears below Change avatar. Click it to delete your current photo and revert to the initials placeholder. While removal is in progress the button label changes to Removing....
Name and email
Below the avatar are two fields:
- Name — your display name, shown in the sidebar user menu and in audit log entries.
- Email address — the address used for password-reset emails and (if required by your deployment) email verification.
Edit either field and click Save. A brief "Saved." confirmation appears next to the button when the update succeeds.
Unverified email notice
If your deployment requires email verification and your current email address has not yet been verified, a notice appears below the email field: "Your email address is unverified." Click Click here to resend the verification email to send a new link. A green message ("A new verification link has been sent to your email address.") confirms the link was sent.
Delete account
Below the profile form is a Delete account section (heading "Delete account", description "Delete your account and all of its resources"). It contains a red-bordered warning box with the text "Warning — Please proceed with caution, this cannot be undone" and a Delete account button.
WARNING
Deleting your account is permanent and cannot be reversed. All data associated with your account will be removed. If you are unsure, contact your system administrator before proceeding.
Clicking Delete account opens a confirmation dialog with the title "Are you sure you want to delete your account?" Enter your current Password in the field provided and click Delete account to confirm. Click Cancel to close the dialog without making any changes.
Password
The Password section (heading "Update password", description "Ensure your account is using a long, random password to stay secure") lets you change your login password.
Fill in all three fields:
- Current password — your existing password, to confirm your identity.
- New password — the password you want to switch to.
- Confirm password — type the new password again to confirm it matches.
Click Save password. A brief "Saved." confirmation appears next to the button when the change succeeds. All three fields are cleared automatically after a successful save or after certain validation errors, so you can start fresh without residual values.
Two-Factor Auth
The Two-Factor Auth section (heading "Two-Factor Authentication", description "Manage your two-factor authentication settings") controls TOTP-based 2FA for your account.
When 2FA is disabled
A red Disabled badge appears at the top of the section. A paragraph explains that enabling 2FA means you will be prompted for a secure pin at each login, retrieved from a TOTP-compatible app on your phone (such as Google Authenticator, Authy, or 1Password).
Click Enable 2FA to start the setup flow. A modal dialog opens (see below).
The 2FA setup modal
The modal is titled Enable Two-Factor Authentication with the description "To finish enabling two-factor authentication, scan the QR code or enter the setup key in your authenticator app."
- A QR code is displayed in the modal. Open your authenticator app, choose to add a new account, and scan the QR code with your camera.
- If your app doesn't support QR scanning, use the setup key shown below the QR code. It is displayed in a read-only text field with a copy button (a clipboard icon) to copy it to your clipboard. After copying, the icon changes to a checkmark briefly to confirm.
- Click Continue once you've added the account in your authenticator app.
- If your deployment requires confirmation, the modal advances to a Verify Authentication Code step. A six-slot pin input appears. Enter the 6-digit code currently shown in your authenticator app. Click Back to return to the QR code step, or click Confirm to complete setup. The Confirm button stays disabled until all six digits are entered.
Once setup is complete, the modal closes and the Two-Factor Auth page refreshes showing an Enabled badge.
Recovery codes
When 2FA is enabled, a 2FA Recovery Codes card appears on the page (title "2FA Recovery Codes", description "Recovery codes let you regain access if you lose your 2FA device. Store them in a secure password manager.").
- Click View Recovery Codes to reveal the codes. The button icon changes and the label becomes Hide Recovery Codes; the codes are displayed in a monospace grid.
- Each code can be used only once as an alternative to the TOTP code at the login two-factor challenge screen.
- Once the codes are visible, a Regenerate Codes button appears. Click it to invalidate the current set and generate a fresh set. Do this if you believe your existing codes have been compromised. Save the new codes immediately.
- A note below the codes reads: "Each recovery code can be used once to access your account and will be removed after use."
WARNING
Keep your recovery codes in a safe place such as a password manager. If you lose access to your authenticator app and have no recovery codes, you will be locked out of your account.
When 2FA is enabled
An Enabled badge appears at the top of the section. The recovery-codes card is shown (see above). A Disable 2FA button (in red) appears at the bottom. Click it to disable two-factor authentication on your account. A brief processing state is shown while the request completes.
Appearance
The Appearance section (heading "Appearance settings", description "Update your account's appearance settings") lets you choose how the Admin Panel looks on your device.
Three theme options are available:
- Light — always use the light colour scheme.
- Dark — always use the dark colour scheme.
- System — follow your operating system's current light/dark setting and switch automatically if it changes.
Your selection takes effect immediately without requiring you to save or reload the page. The preference is stored in your browser, so it applies to the current device only.