Print Templates
Print Templates let you control the header and footer that appear on every document CPR generates — prescriptions, medical certificates, medical plans, and reports. You can add your clinic's logo, address, contact details, and any other information that should bracket the document body, using a rich-text editor and a set of smart placeholders that the system fills in at print time.
Permission required: your account must carry the
print-templates.managepermission to see or use this section. If the sidebar entry is missing, ask your system administrator to update your role. See Roles & Permissions for details.
The Print Templates list screen
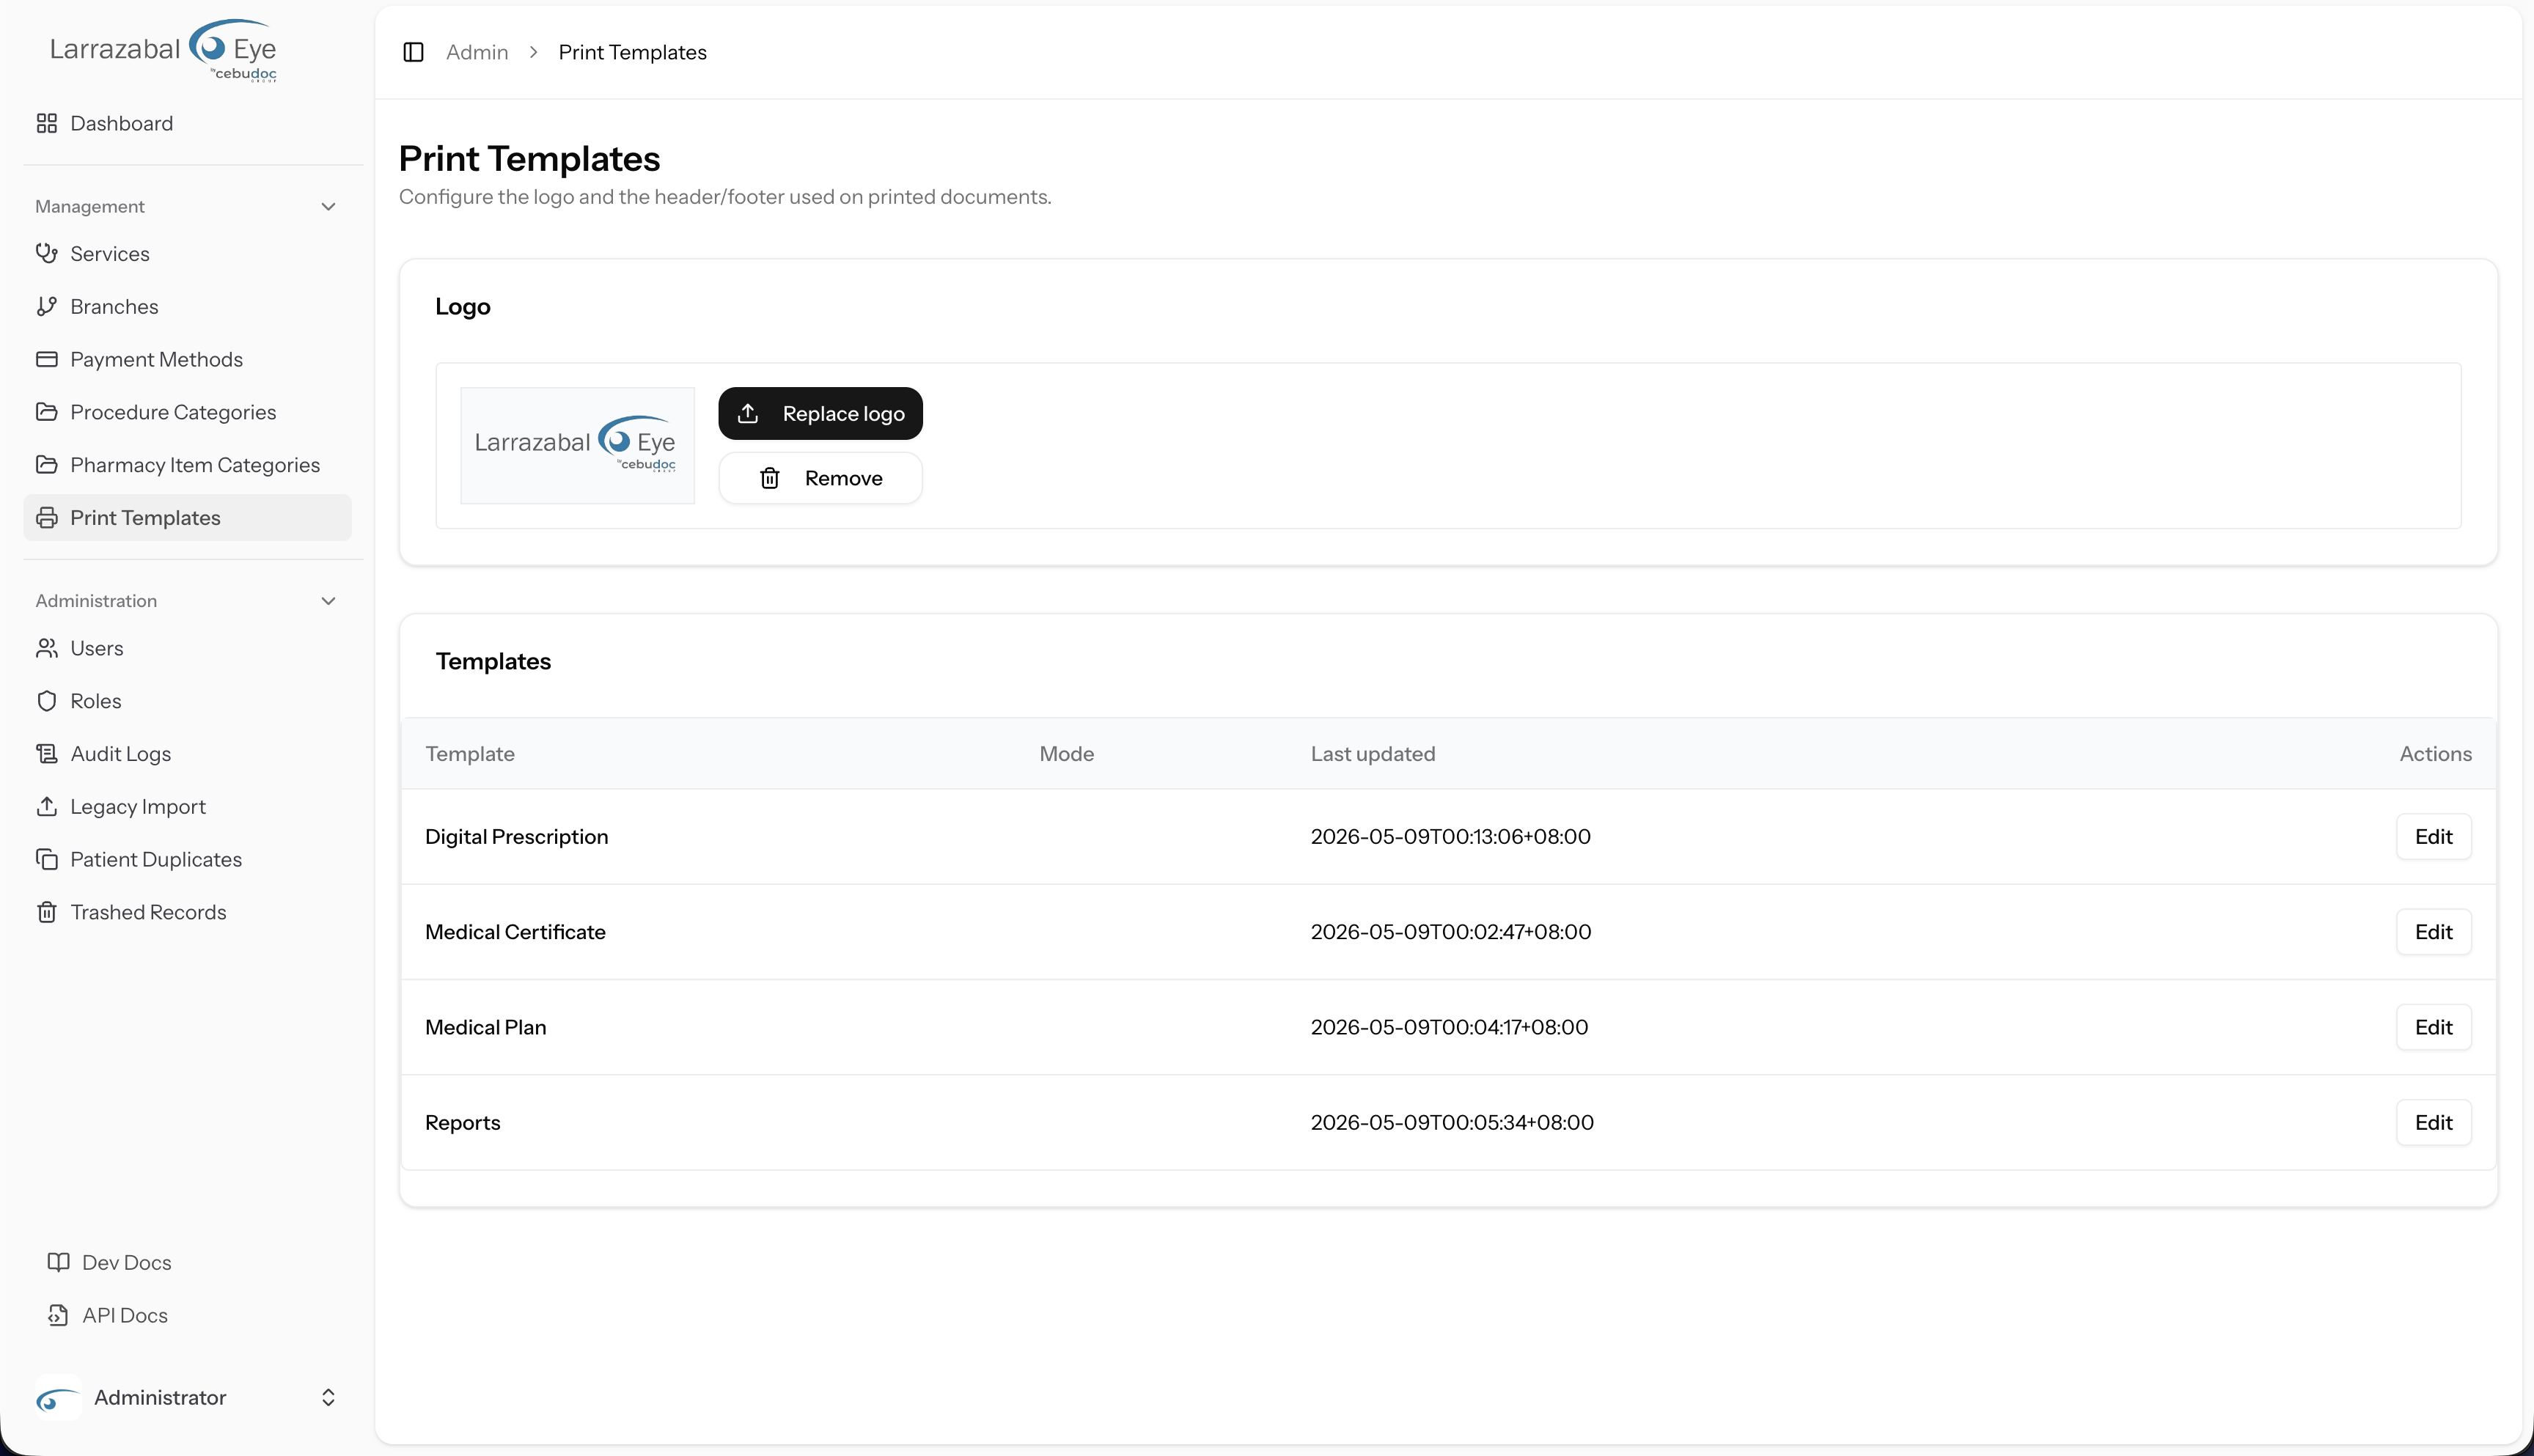
Open Print Templates from the left sidebar under Management. You land on a page with two cards.
Logo card
The Logo card shows a preview of the clinic logo that is currently uploaded (or a "No logo uploaded" placeholder if none exists). Two buttons are available:
- Upload logo (or Replace logo if one already exists) — opens a file picker.
- Remove — deletes the current logo immediately. This button only appears when a logo is present.
Accepted formats are PNG, JPG/JPEG, WebP, and SVG. The maximum file size is 2 MB. The logo is shared across all four document types, so uploading it here affects every template at once.
Templates card
Below the logo you will find a table with four rows — one per document type:
| Template | Key |
|---|---|
| Digital Prescription | prescription |
| Medical Certificate | medical_certificate |
| Medical Plan | medical_plan |
| Reports | report |
Columns: Template (the human-readable name), Mode, Last updated, and an Edit button on the right.
Clicking Edit opens the template editor in a new browser tab.
The template editor
Each template has its own editor page. The page title shows the template name (for example, "Medical Certificate — Print Template"). A breadcrumb at the top links back to the list.
The editor page is split into two columns:
- Left column — the editing tools: a Header card and a Footer card, each containing an HTML editor, validation error messages if save fails, and the Save button.
- Right column — a live Preview pane that shows how the template renders with sample data.
HTML editor
Each of the Header and Footer cards contains a rich-text HTML editor (powered by TipTap). The toolbar above the editing surface gives you:
| Control | What it does |
|---|---|
| B (Bold) | Bold the selected text |
| I (Italic) | Italicise the selected text |
| Bullet list | Wrap selected text in an unordered list |
| Numbered list | Wrap selected text in an ordered list |
| Font size dropdown | Choose from 10 px, 12 px, 14 px, 16 px, 18 px, or 24 px, or leave it at the default |
| Align left / center / right | Set paragraph alignment |
| Horizontal line | Insert a <hr> divider |
| Insert table | Insert a 2×2 table with a header row |
When your cursor is inside a table, extra buttons appear in the toolbar:
- Center table — toggles horizontal centering for the whole table.
- Add row below — adds a row after the current one.
- Add column after — adds a column to the right of the current one.
- Delete row — removes the current row.
- Delete column — removes the current column.
- Delete table — removes the entire table.
A note at the bottom of each editor reads: "Disallowed formatting is stripped on save." The system runs your HTML through a sanitizer when you save, so any tags or attributes outside the allowed set are automatically removed. This is a security measure, not an error — but it can silently change your output, so always check the preview after saving.
Variable picker
Directly below each editor is a row of small buttons labelled with placeholder tokens. Clicking a token inserts it at the current cursor position in the editor. The system replaces these tokens with real values whenever a document is printed.
The available variables are:
| Token | What it inserts at print time |
|---|---|
{branch} | The name of the branch the document is issued from |
{branch_address} | The branch's street address |
{branch_phone} | The branch's phone number |
{branch_email} | The branch's e-mail address |
{date} | The date the document is printed (formatted, e.g. "May 13, 2026") |
{logo} | An <img> tag for the uploaded clinic logo |
If a token is used but the corresponding value is not available at print time (for example, no logo has been uploaded), the token is left as-is in the output. Always verify in the preview that tokens resolve correctly.
Preview pane
The Preview pane on the right side of the editor renders a full letter-page view of your saved template, showing:
- Your header HTML at the top, separated by a horizontal rule.
- A short sample body in the middle (for example, "Rx: Sample medication 500 mg, 1 tab twice a day, 7 days." for the prescription template).
- Your footer HTML at the bottom, separated by a horizontal rule.
All placeholder tokens are filled with realistic sample values (branch name "Sample Branch", address "123 Sample St., Sample City", etc.) so you can judge the layout without using real patient data.
The preview is loaded when you first open the editor. It does not update automatically as you type — click the Refresh preview button (the circular arrow icon at the top right of the pane) to reload it. After you click Save, the preview also refreshes automatically.
Saving
When you are satisfied with your edits, click Save at the bottom of the left column. A confirmation dialog ("Save changes? — Apply your changes to this print template?") opens first; click Save changes to commit, or Cancel to keep editing. The Save button label changes to "Saving…" while the request is in flight. On success you stay on the same page and a "Template saved" toast appears.
If there are validation errors (for example, the HTML is too large), they appear in a red box above the Save button.
The HTML sanitizer still runs on save and strips any disallowed tags or attributes silently — the toast wording does not distinguish between a clean save and one where content was removed. Always review the preview after saving to confirm the template renders the way you expect.
Practical guidance
Changes are live immediately. Once you save a template, every document printed after that point uses the new header and footer. Documents that were already printed are not affected.
There is no built-in reset to default. The system does not store a copy of the original template that you can restore with a single click. Before making significant changes, copy the current HTML out of the editor (select all, copy) and keep it somewhere safe — a text file, a notes app, or a version in your email drafts. That way you can paste it back if the new design does not work out.
Broken HTML can break printing. If your header or footer contains structural HTML errors (unclosed tags, malformed tables), the printed document may look garbled. Always use the Refresh preview button to check the result before printing real documents. The preview uses the same rendering path as production prints.
Logo sizing in templates. The {logo} token renders the logo at a maximum height of 60 px in the printed output. If your logo file is very wide, it will be scaled down proportionally. For best results, upload a logo that looks good at that height.
Where these documents are printed
These four templates correspond to documents that staff create and print in the clinical app:
- Digital Prescription and Medical Plan — generated from a patient's record. See Patients in the staff manual.
- Medical Certificate and Reports — accessible from the reports section of the clinical app. See Reports in the staff manual.
Any header or footer you configure here appears on every copy of that document type, regardless of which staff member prints it or which branch they are working in (the {branch} and {branch_*} variables let the content adapt per branch).
For a general orientation to the Admin Panel and its common patterns, see Getting Started.