Audit Logs
The Audit Logs screen gives you a complete, read-only record of every action taken inside CPR — who did what, to which record, and when. It is your primary tool for accountability and troubleshooting.
Required permission: audit-logs.access (in addition to the base admin.access required to enter the Admin Panel at all).
The Dashboard shows a short feed of recent activity; the Audit Logs screen is where you go when you need to search, filter, and page through the full history.
What gets recorded
CPR records activity through the spatie/laravel-activitylog package. Every time a user (or the system itself) creates, updates, or deletes a record, a new log entry is written automatically. You do not need to do anything to enable this — it happens in the background for all covered models.
Each entry captures:
| Field | What it means |
|---|---|
| Date/Time | When the action happened (timestamp, shown to the minute). |
| User | The admin account that triggered the action. Entries triggered automatically by the system show "System" instead of a name. |
| Action | What kind of event occurred — most commonly created, updated, or deleted. |
| Record Type | The category of data that was affected (for example, the model class name). |
| Record ID | The internal identifier of the specific record that was changed. |
| Description | A short plain-English summary of the event. |
Action badges
The Action column uses different badge styles to make events easy to scan:
- Default (solid theme colour) —
created— a new record was added. - Gray (secondary) —
updated— an existing record was changed. - Red (destructive) —
deleted— a record was removed or soft-deleted.
The log list
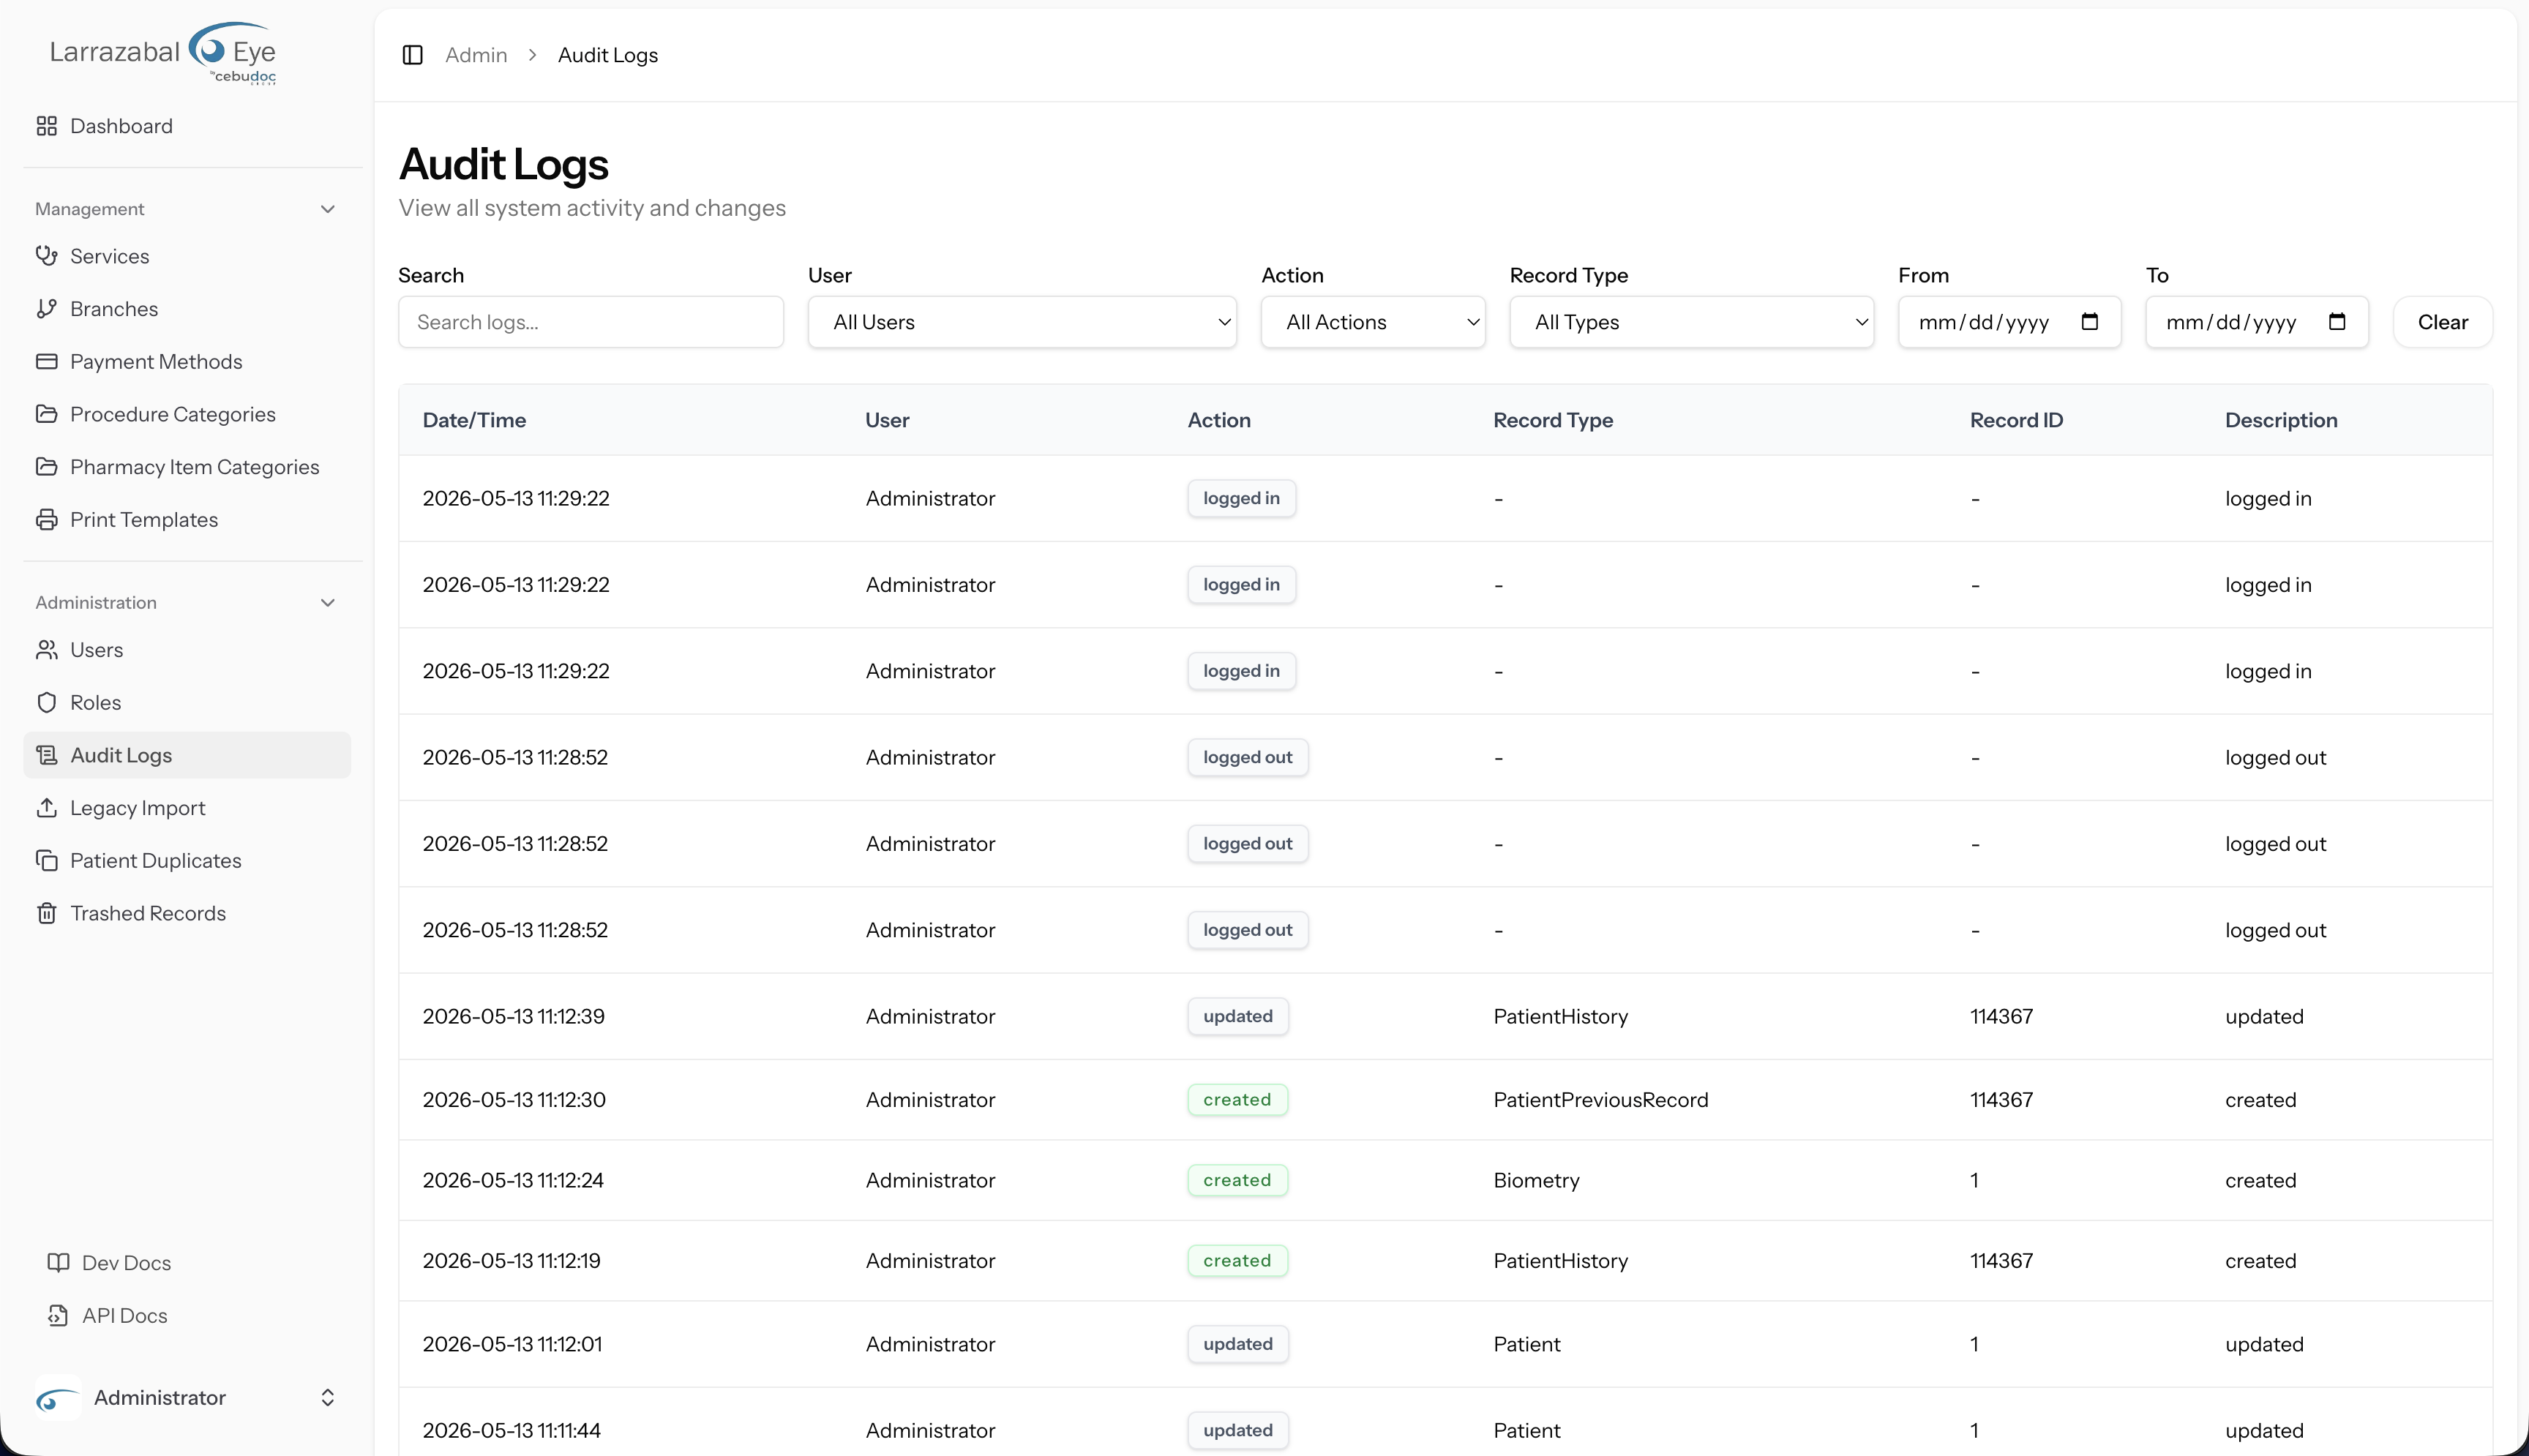
Navigate to Admin → Audit Logs in the sidebar. The page heading reads "Audit Logs" with the subtitle "View all system activity and changes."
The table shows the six columns described above. Entries are newest-first. When there are no results matching your current filters, the table shows "No audit logs found" (and suggests adjusting your filters if you have any active).
Long lists are paged. The pagination control at the bottom shows which page you are on, the total number of entries, and Previous/Next-style page buttons.
The log is read-only — there are no edit, delete, or action buttons on any row.
Filtering and searching
Six controls sit above the table. They all work together: you can combine any of them to narrow down the list.
| Control | What it does |
|---|---|
| Search (text box) | Filters as you type, with a short (~300 ms) debounce. Searches within log descriptions and related text. The User, Action, Record Type, From, and To controls apply immediately as you change them — only the text box waits for you to stop typing. |
| User (dropdown) | Limits results to actions taken by a specific admin user. Starts on "All Users". |
| Action (dropdown) | Limits results to a specific event type (created, updated, deleted, etc.). Starts on "All Actions". |
| Record Type (dropdown) | Limits results to a specific category of data. Starts on "All Types". The available options reflect the record types that have actually been logged. |
| From (date) | Start of a date range — only entries on or after this date are shown. |
| To (date) | End of a date range — only entries on or before this date are shown. |
Use From and To together to isolate a specific period (for example, a single day or a week). You can use either field on its own if you only need a one-sided boundary.
The Clear button resets all six controls at once and reloads the unfiltered list.
Reading a log entry
A typical row might look like:
| Date/Time | User | Action | Record Type | Record ID | Description |
|---|---|---|---|---|---|
| 2026-05-13 09:14 | Maria Santos | updated | Patient | 1042 | updated Patient |
This tells you that Maria Santos edited patient record #1042 at 9:14 AM on 13 May 2026.
If the User column shows "System", the action was triggered automatically — for example by an import job, a scheduled process, or a system-level operation rather than a person clicking a button.
The Record ID is the internal database identifier. To find the actual record in the staff app, open the corresponding section (for example, the patient record in the staff app at /end-user/patients) and look up the record by name or ID.
Tips
- Investigating an unexpected change: Filter by Record Type and enter the relevant Record ID in the search box to see the full timeline of changes to a single record.
- Reviewing a user's activity: Select the user in the User dropdown and set a From/To date range.
- After a bulk operation (like an import): Filter by User = System and the date of the import to see all records that were created or updated.
- Nothing is shown: Clear all filters first. If the list is still empty within a date range, no recorded activity occurred during that period.